 Save to Pinterest
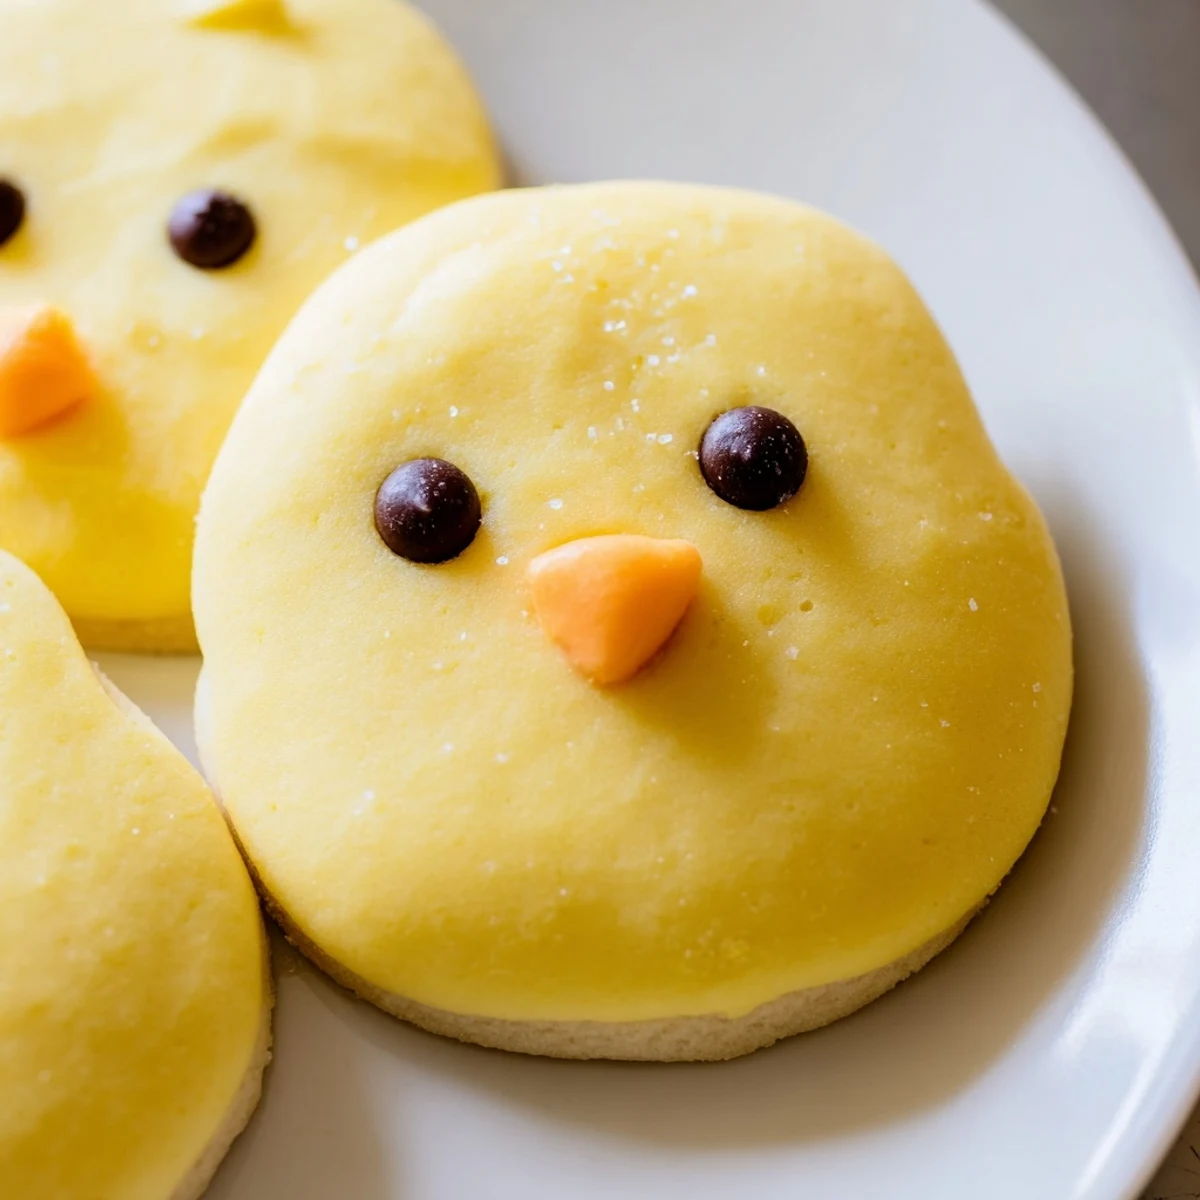
 Create these charming chick-shaped sugar cookies for your next spring gathering or children's party. These buttery treats feature vibrant yellow coloring and adorable faces made with simple decorating gels and candies.
The process involves mixing a classic sugar cookie dough, tinting it yellow, then shaping each cookie into an adorable chick with a round body and smaller head. A quick bake yields golden edges while keeping centers tender. Finish with expressive eyes and beaks using basic decorating supplies.
Perfect for Easter, baby showers, or any spring occasion, these cookies come together in just 30 minutes with basic pantry ingredients. The dough handles beautifully and can be chilled if needed for easier shaping. Kids love helping decorate these sweet little birds!
The first time I made these chick cookies, my kitchen counter looked like a tiny yellow flock had taken over. I was hosting a spring brunch and wanted something that would make the kids giggle, but honestly the adults were just as delighted. Theres something impossibly cheerful about cookies that look back at you with tiny chocolate chip eyes.
Last Easter my niece decided every chick needed a personality, so we gave some sparkly crowns and tiny bowties made of fruit leather. The tray became the most photographed thing at the party before anyone even took a bite. Thats the kind of joy these little cookies bring to a table.
Ingredients
- All-purpose flour: The foundation that gives these cookies their tender crumb and perfect structure for shaping
- Unsalted butter: Use it slightly softened but still cool to the touch for the fluffiest dough texture
- Yellow food coloring: Gel coloring works better than liquid for achieving that vibrant sunny hue without thinning the dough
- Powdered sugar glaze: This optional step adds a lovely sheen and makes the colors pop beautifully
- Decorating gels and candies: Mini chocolate chips make the sweetest eyes while orange candy or gel creates those perfect tiny beaks
Instructions
- Getting Everything Ready:
- Preheat your oven to 350°F and line two baking sheets with parchment paper so nothing sticks and cleanup is effortless.
- Whisking the Dry Goods:
- In a medium bowl combine flour baking powder and salt until everything is evenly distributed and ready to join the wet ingredients.
- Creaming Butter and Sugar:
- Beat butter and sugar in a separate bowl until the mixture turns pale and fluffy then add the egg and vanilla until completely incorporated.
- Mixing the Dough:
- Gradually blend in the dry ingredients just until a smooth dough forms being careful not to overmix which can make the cookies tough.
- Adding That Chick Color:
- Knead in yellow food coloring a few drops at a time until the dough reaches that perfect spring shade without making it sticky.
- Shaping Your Chicks:
- Roll dough into one inch balls using a larger ball for the body and a smaller one for the head then gently press them together so they stay connected while baking.
- Baking to Perfection:
- Arrange cookies two inches apart on prepared sheets and bake for 8 to 10 minutes until the edges are just barely golden.
- Adding Personalities:
- Once completely cool brush with the thin powdered sugar glaze if desired then carefully add eyes and beaks to bring each chick to life.
 Save to Pinterest
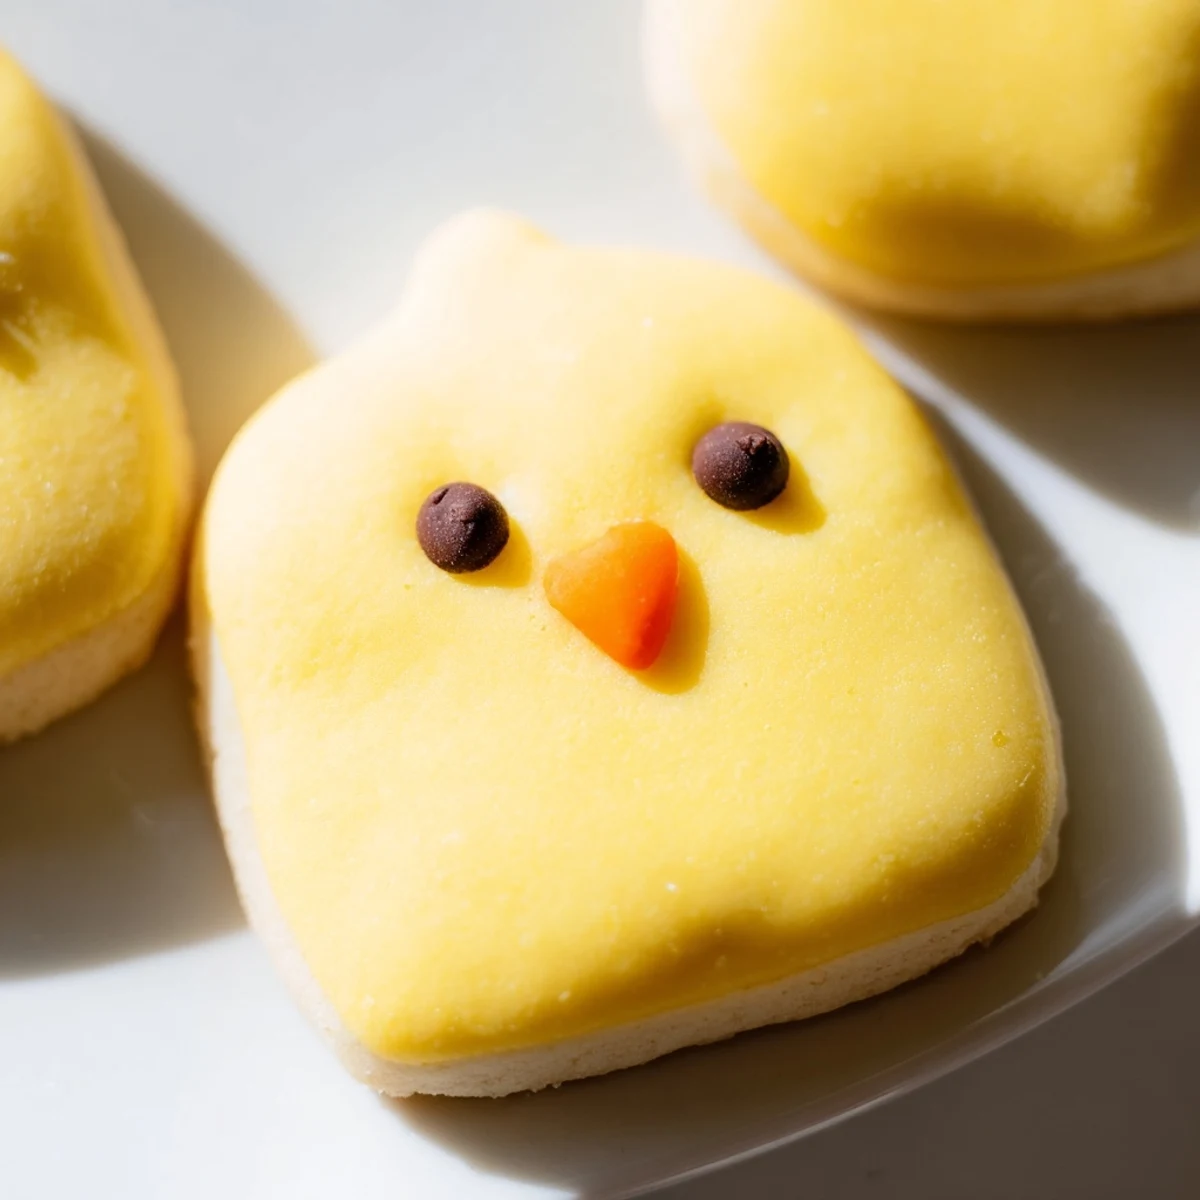
 I learned the hard way that warm hands make for sad misshapen chicks so now I keep a bowl of ice water nearby to dip my fingers in occasionally. The first batch looked like they had survived a windstorm but by the second tray I had the technique down and my little flock was整齐 and proud.
Making Them Ahead
The dough keeps beautifully in the refrigerator for up to three days or frozen for a month so you can bake fresh cookies whenever the mood strikes. I love preparing the dough on a quiet Sunday then baking them the following weekend for an instant party ready treat.
Kid Friendly Decorating
Set up a decorating station with small bowls of eyes and beaks and let everyone create their own chick personalities. Some of the most charming cookies come from children who are not afraid to make them silly or give them crooked grins.
Storage Tips
Store these cookies in an airtight container at room temperature for up to five days though they rarely last that long in my house. Place parchment paper between layers if you need to stack them to protect those precious little faces.
- Freeze undecorated baked cookies for up to three months and decorate after thawing
- Add a slice of white bread to the container if cookies start to feel a bit dry
- Keep decorated cookies away from humidity or the gel features might start to weep
 Save to Pinterest
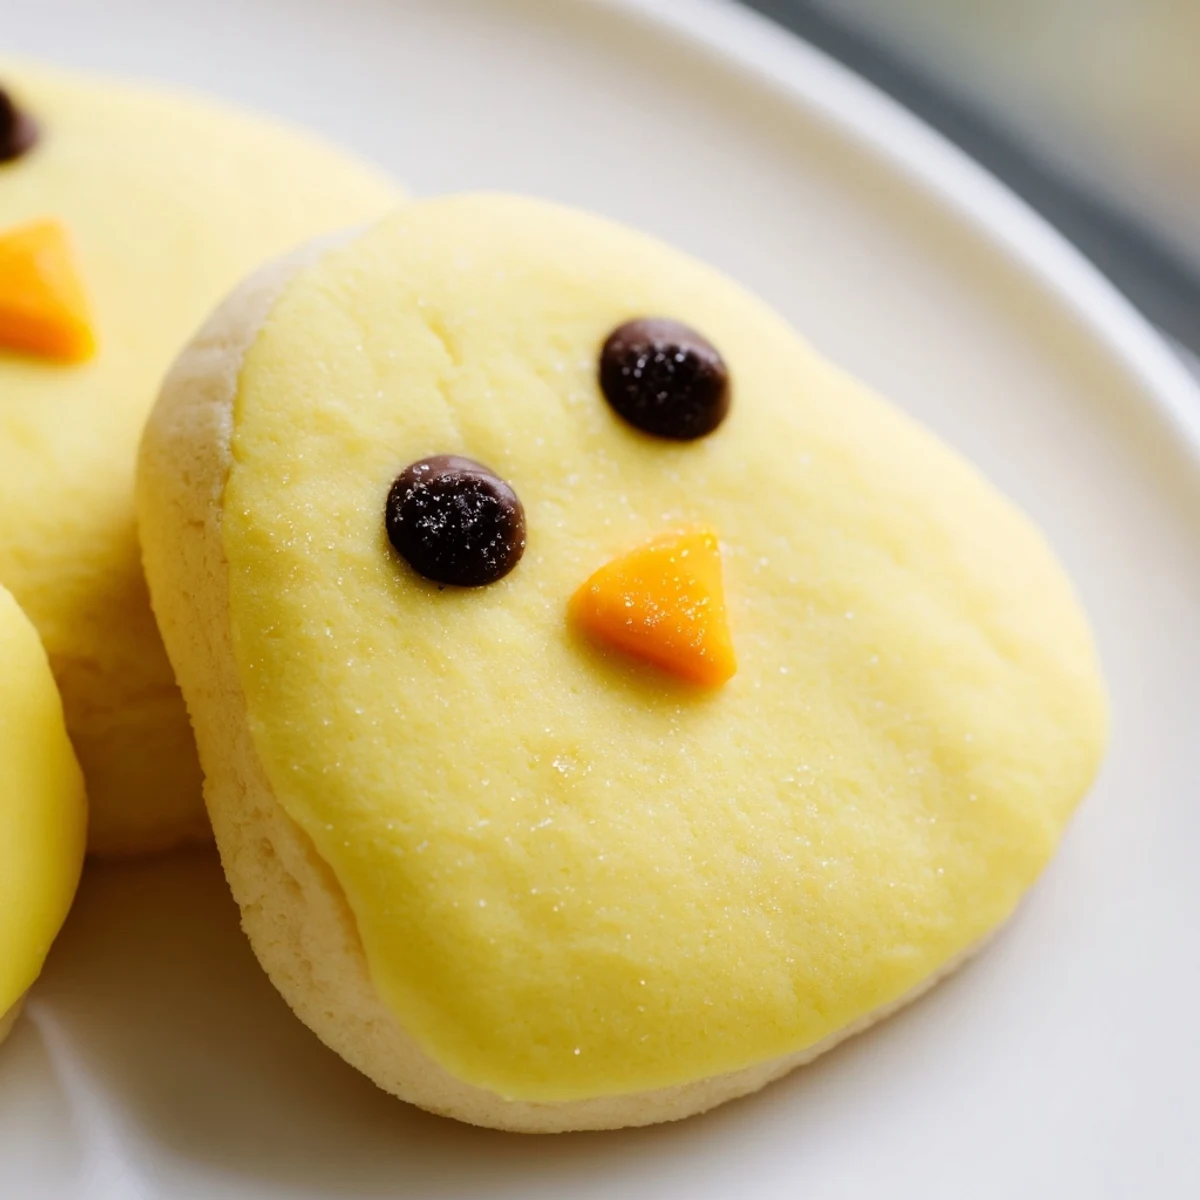
 These little chicks have become my go to springtime treat because they never fail to spark joy in everyone who sees them.
Recipe FAQs
- → How long do chick cookies stay fresh?
-
Store in an airtight container at room temperature for up to 5 days. Place parchment paper between layers to prevent sticking and protect the decorated faces.
- → Can I make the dough ahead of time?
-
Yes, refrigerate the dough for up to 3 days before baking. Let it soften slightly at room temperature for 10-15 minutes before shaping for easier handling.
- → What if I don't have food coloring?
-
Skip the coloring and create white chicks with colorful sprinkles, or use natural yellow options like turmeric or saffron powder for a subtle golden hue.
- → Can I freeze these cookies?
-
Freeze undecorated baked cookies for up to 3 months. Thaw at room temperature, then add decorations. For longer storage, freeze the dough balls and bake fresh.
- → What's the best way to get round chick shapes?
-
Roll dough into smooth balls using slightly damp hands. Use one larger ball for the body and a smaller ball for the head, gently pressing them together at the seam.
- → Can I use royal icing instead of glaze?
-
Absolutely! Royal icing creates a smooth, professional finish and dries hard. It's perfect for detailed decorating and stacking without smudging.