 Save to Pinterest
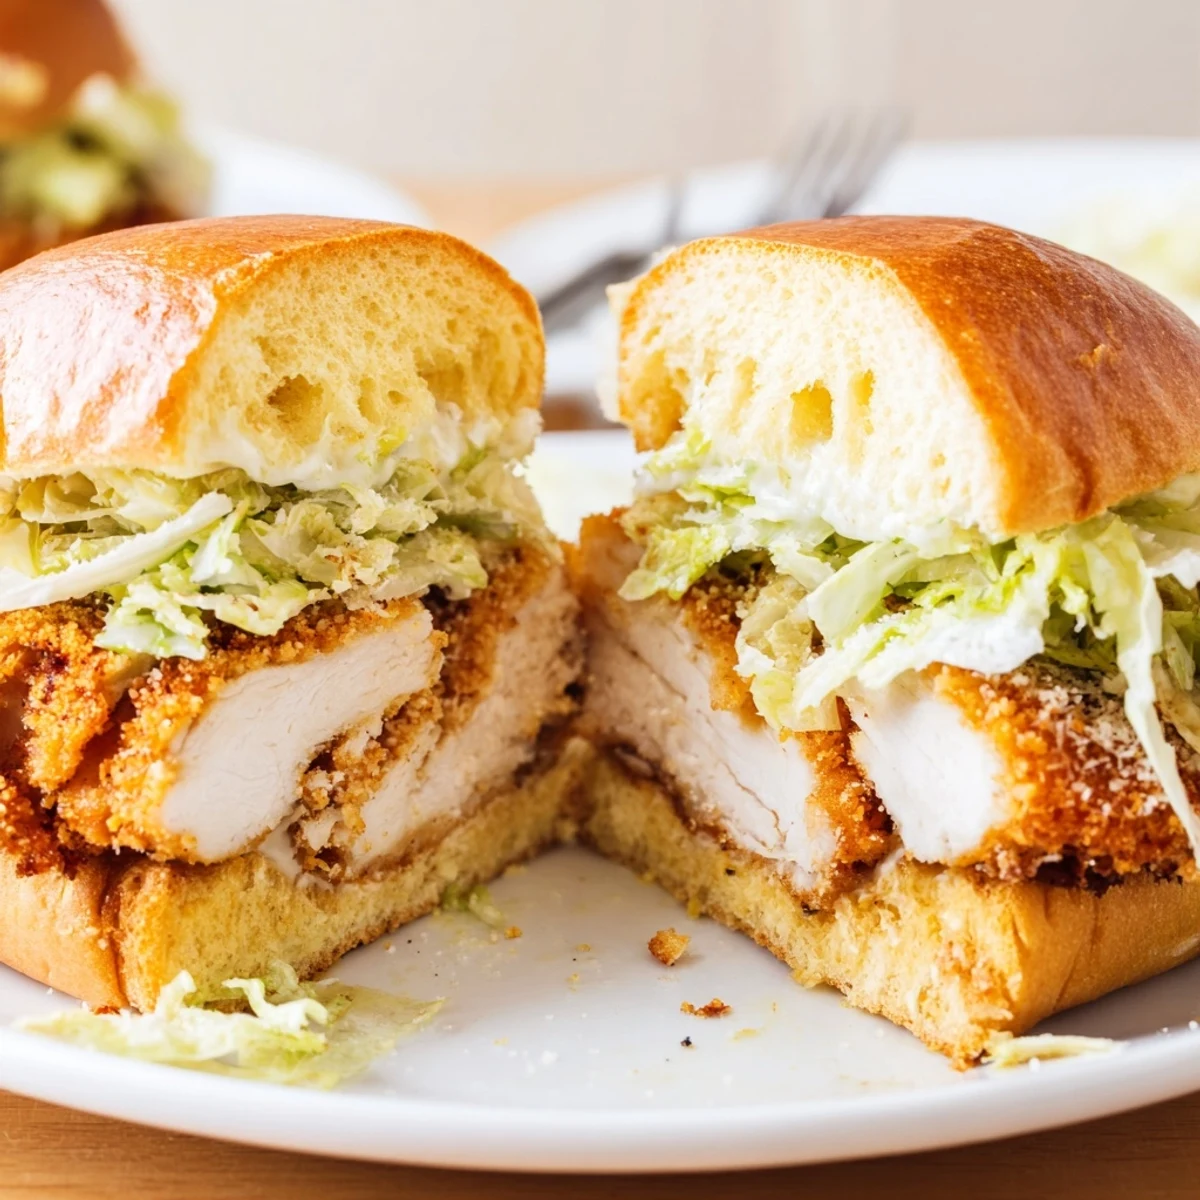
 Marinate chicken in buttermilk with garlic and onion powders, then double-dredge in a flour-panko-Parmesan mix for extra crunch. Fry at 350°F until golden, or bake at 400°F for a lighter finish. Toss shredded romaine with Caesar dressing and shaved Parmesan. Toast brioche, build sandwiches with hot chicken and salad, and serve with lemon wedges or extra dressing.
The aroma of sizzling chicken floating from my kitchen on a lazy Saturday afternoon was how I knew I struck gold with this Crispy Chicken Caesar Sandwich. The simultaneous crunch of the coating with a cool, creamy lettuce topping always signaled something special was about to hit the table. There’s that moment of anticipation when the buns come off the pan, perfectly toasted, and you just know the next bite will be everything you’ve craved. Sometimes, I get more excited assembling these than eating them — the colors alone make it hard not to sneak a taste early.
I still remember the first time I made these for friends after a last-minute phone call turned into a group dinner. With music up and everyone chatting in the kitchen, someone kept mistakenly trying to sneak a Parmesan shaving, and by the time I started frying, there was a queue for the first sandwich. Somehow, even the lettuce was a hit because it was so coated in creamy Caesar. I ended up jotting down the “recipe” on a napkin because everyone wanted a copy before leaving.
Ingredients
- 2 large chicken breasts: Slicing them thin ensures quick cooking and optimal crunch in every bite.
- 1 cup buttermilk: This tangy soak keeps the chicken ultra-tender and juicy; I always marinate for at least 30 minutes.
- 1 teaspoon garlic powder & 1 teaspoon onion powder: Essential for infusing savory flavor right from the start.
- 1 teaspoon salt & 1/2 teaspoon black pepper: Don’t skimp — these basics unlock seasoning for both the marinade and coating.
- 1 cup all-purpose flour: A tried-and-true crispy coating base; dust everything evenly for best results.
- 1 cup panko breadcrumbs: Ultra-crunchy, giving the outside a satisfying, audible snap.
- 1/2 cup grated Parmesan cheese: Adds salty, nutty flavor and browns beautifully when fried.
- 2 large eggs: The glue that helps every crumb cling to the chicken for that perfect, thick coating.
- Vegetable oil: Use enough for shallow frying — too little and the crust won’t cook evenly.
- 2 cups shredded romaine lettuce: Crisp and refreshing, the perfect backdrop for rich chicken.
- 1/3 cup Caesar dressing: The savory, garlicky element that melds everything together; I love a homemade version, when possible.
- 1/4 cup shaved Parmesan cheese: The elegant ribbons make the salad look special and totally irresistible.
- 4 brioche or sandwich buns: Soft and slightly sweet, they handle the juicy fillings best, especially after toasting.
- 2 tablespoons unsalted butter (optional): For toastier, golden-edged buns — it’s a little upgrade that’s worth it.
Instructions
- Marinate the chicken:
- Combine buttermilk, garlic powder, onion powder, salt, and pepper in a bowl and add the chicken fillets. Cover and chill for as little as 15 minutes or up to 4 hours for extra tenderness — don’t be afraid to let the flavors work their magic.
- Mix the coating:
- In one shallow dish, toss together flour, panko, and Parmesan so it’s evenly distributed and fragrant. In another bowl, beat the eggs until smooth.
- Dredge each piece:
- Lift the chicken from the marinade and shake off extra liquid. Dip each fillet into the flour mixture, then into the eggs, and back again for a second breading — it depends on this double layer for ultimate crisp.
- Fry to perfection:
- Heat about a half inch of oil in a skillet until shimmering and hot; 350°F is right. Fry the chicken for 3 to 4 minutes per side, letting it develop a deep golden-brown crust, then drain on paper towels so it stays crisp.
- Toss the salad:
- In a large bowl, quickly toss the romaine with Caesar dressing until lightly coated. Add in the shaved Parmesan and toss again gently so the pieces stay crisp and the cheese doesn’t clump.
- Toast and build:
- Optional, but melt butter and brush the cut sides of buns, then toast them cut-side-down on a pan until golden. Place fried chicken on the bottom halves, heap with Caesar salad, and crown with the top bun as the final step.
- Serve immediately:
- Enjoy straight away, and don’t hesitate to add a bit more Caesar dressing or a squeeze of lemon for a zesty touch.
 Save to Pinterest
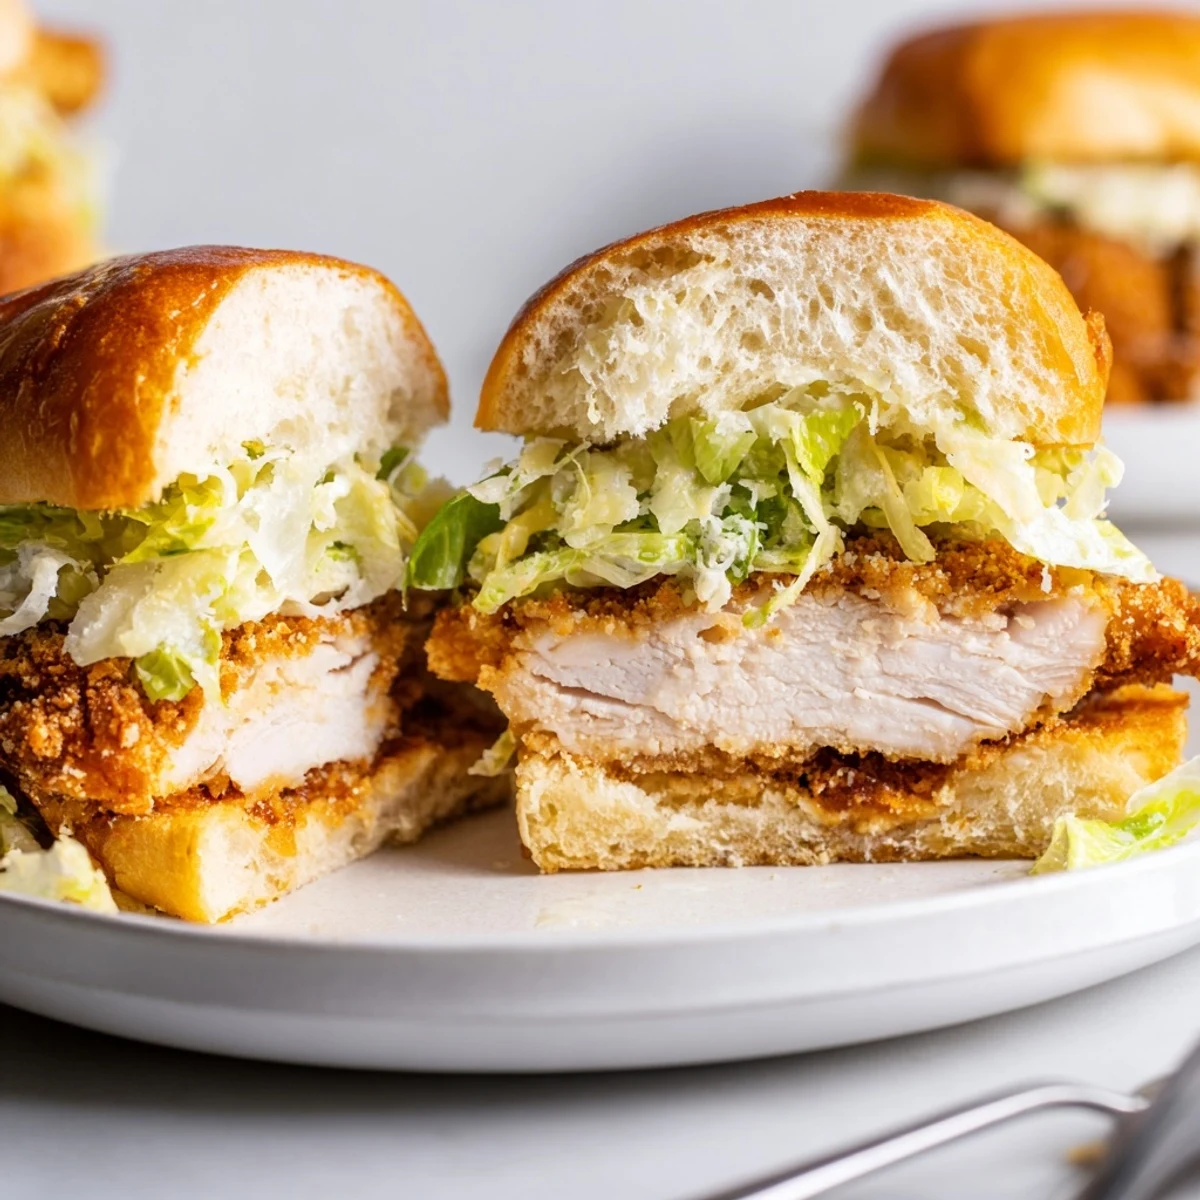
 I realized just how tied this sandwich was to happy chaos when it accidentally became our go-to celebratory meal after small victories. Whether someone aced an exam or a project finally wrapped, the sight of crunchy chicken and Caesar-draped buns meant it was time to mark the moment with bites and easy laughter. There’s almost always a fight over the crispiest corner, but that’s how you know it’s a winner.
What Happens If You Bake Instead of Fry?
Baking the chicken works surprisingly well if you want to lighten things up a notch or avoid frying mess. The texture stays crunchy if you keep the pieces spaced out and flip them once for even browning. I like misting the breaded chicken lightly with cooking spray before baking to encourage the golden finish that makes this sandwich irresistible.
Getting the Caesar Salad Just Right
I learned that how you toss the salad affects the final sandwich, with too much dressing making it soggy and too little leaving it bland. The key is tossing quickly and adding the dressing little by little, tasting as you go. Using ultra-fresh Romaine gives a clean, snappy bite every time.
Finishing Touches and Easy Upgrades
Sometimes last-minute additions like a strip of bacon or a slice of juicy tomato completely transform what’s already a great sandwich. Mixing and matching buns (try ciabatta for more chew) or adding an extra sprinkle of black pepper can turn leftovers into something new. Honestly, toasting the bun makes all the difference on even the busiest day.
- A little lemon zest over the salad brightens everything up.
- If you want spicy heat, add a dash of cayenne to the flour mix.
- Let your chicken rest before assembling so it stays extra crispy.
 Save to Pinterest
 Here’s hoping this sandwich sparks as much joy in your kitchen as it has in mine. Messy fingers and satisfied smiles are practically guaranteed.