 Save to Pinterest
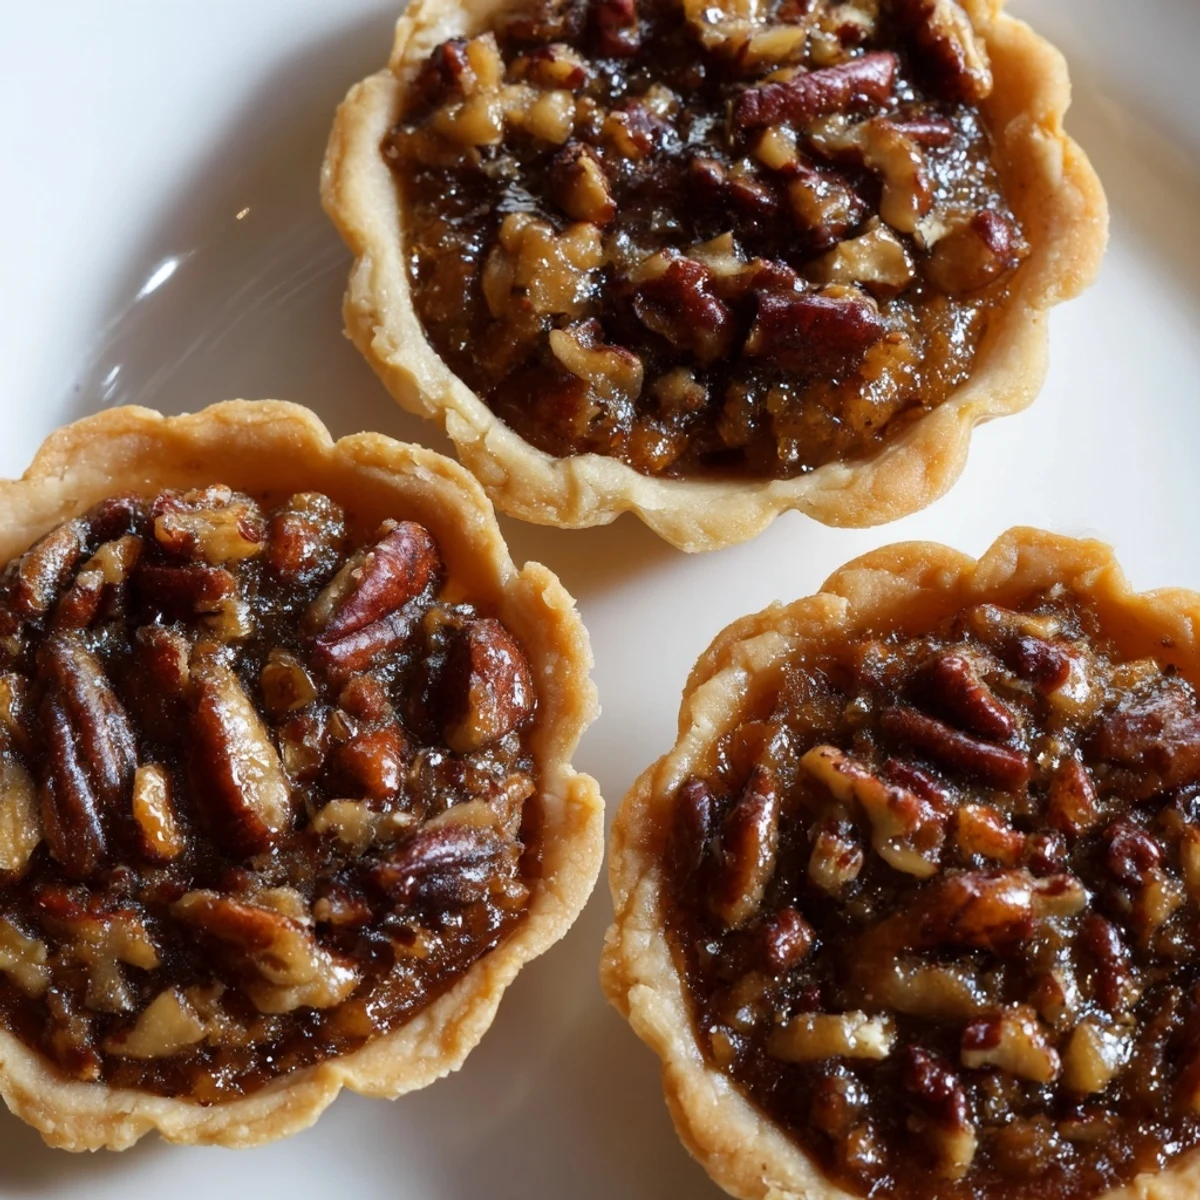
 These delightful mini pecan pies feature a homemade buttery crust filled with a rich, sweet pecan mixture. The individual portions are ideal for entertaining, offering all the classic flavors of traditional pecan pie in a handheld format. Toast the pecans beforehand for extra nutty depth, or swap in walnuts for variation. The short preparation and baking time makes these an excellent choice for last-minute holiday desserts or party treats.
Last Thanksgiving, my sister brought these tiny pecan pies to our family gathering and they vanished in minutes. Something about that buttery crust and gooey filling makes them absolutely irresistible.
I still laugh remembering my dad trying to be sneaky, grabbing three of them before dinner even started. Now he requests them specifically instead of the traditional pecan pie.
Ingredients
- All-purpose flour: The foundation of a tender, flaky crust that holds together beautifully in mini form
- Cold unsalted butter: Keeping it cold is the secret to creating those irresistible flaky layers
- Light brown sugar: Adds a deeper, more complex flavor than white sugar alone
- Light corn syrup: Creates that classic gooey texture we all love in pecan pie
- Pecans: Toast them first for an extra layer of nutty warmth
Instructions
- Prepare your muffin tin:
- Grease each well thoroughly, these little pies love to stick if you are not careful
- Make the crust dough:
- Work quickly with cold butter and stop mixing as soon as the dough holds together
- Shape the crusts:
- Gently press the dough circles into the tin, keeping the thickness even so they bake uniformly
- Whisk the filling:
- Combine everything until completely smooth, then fold in those toasted pecans
- Fill and bake:
- Spoon exactly one tablespoon into each crust and bake until the filling is set with a slight jiggle
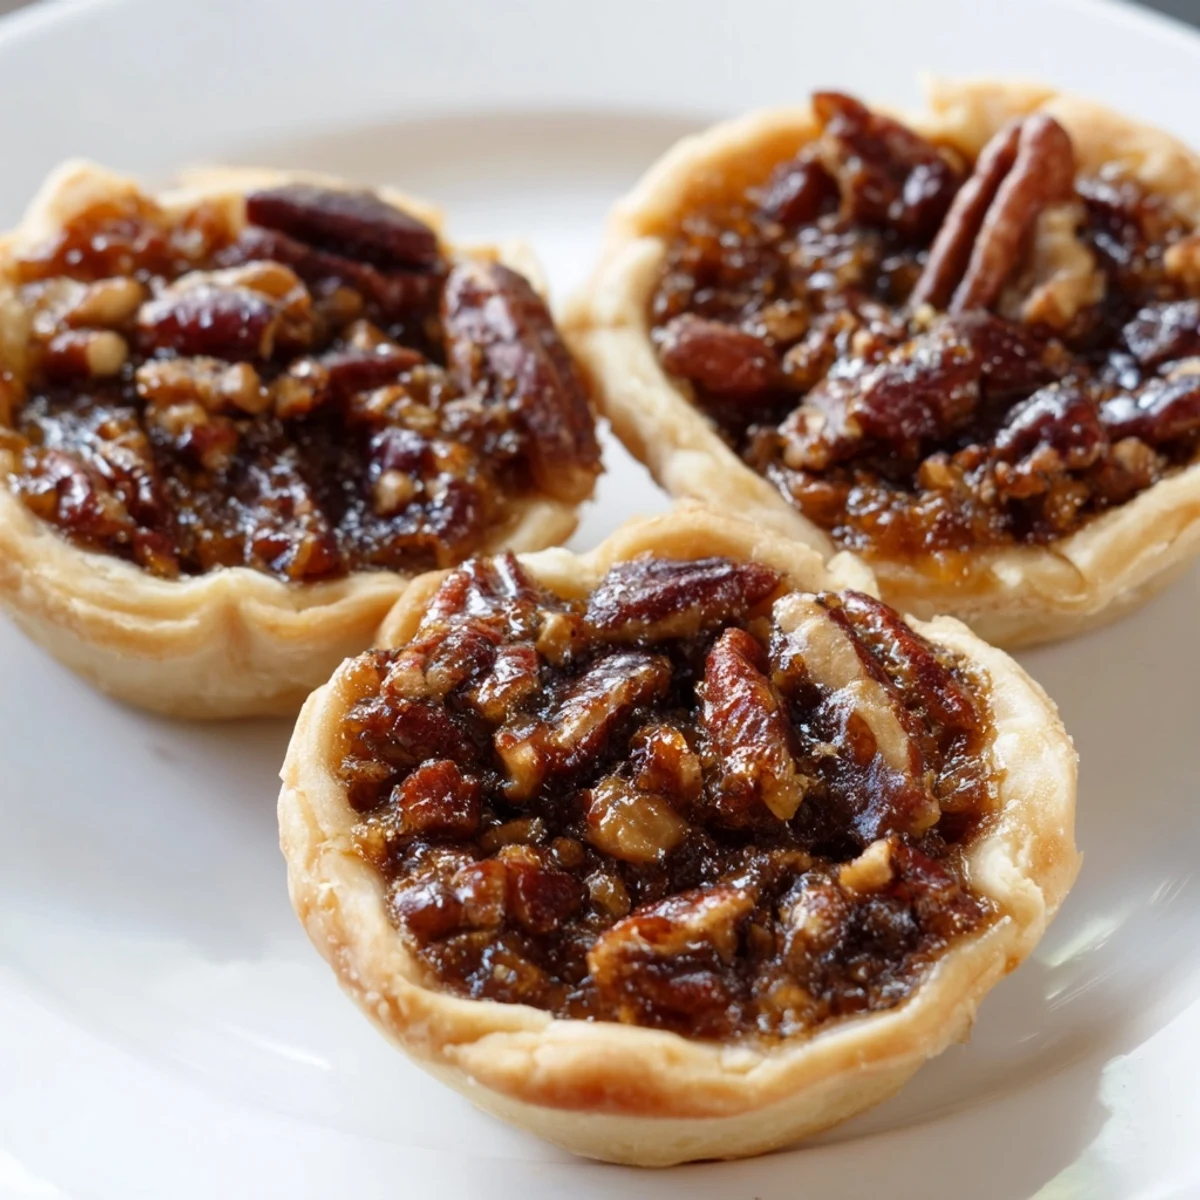 Save to Pinterest
 My neighbor started making these every Christmas after trying one at our annual cookie exchange. She says her grandkids actually cheer when they see her bringing out the mini muffin tin.
Getting The Crust Just Right
Working with cold butter can feel fussy, but it makes all the difference. I keep my butter in the freezer for 10 minutes before starting and cut it into small cubes first.
The Filling Consistency Secret
That perfect gooey texture comes from not overmixing the filling ingredients. Just whisk until combined, any more and you will incorporate too much air.
Make-Ahead Magic
You can actually freeze the unbaked crusts in the muffin tin for up to a week. Then just add filling and bake straight from frozen, adding about 3 minutes to the baking time.
- Use a small cookie scoop for evenly portioned filling
- Rotate the pan halfway through baking
- Room temperature pies are easier to remove cleanly
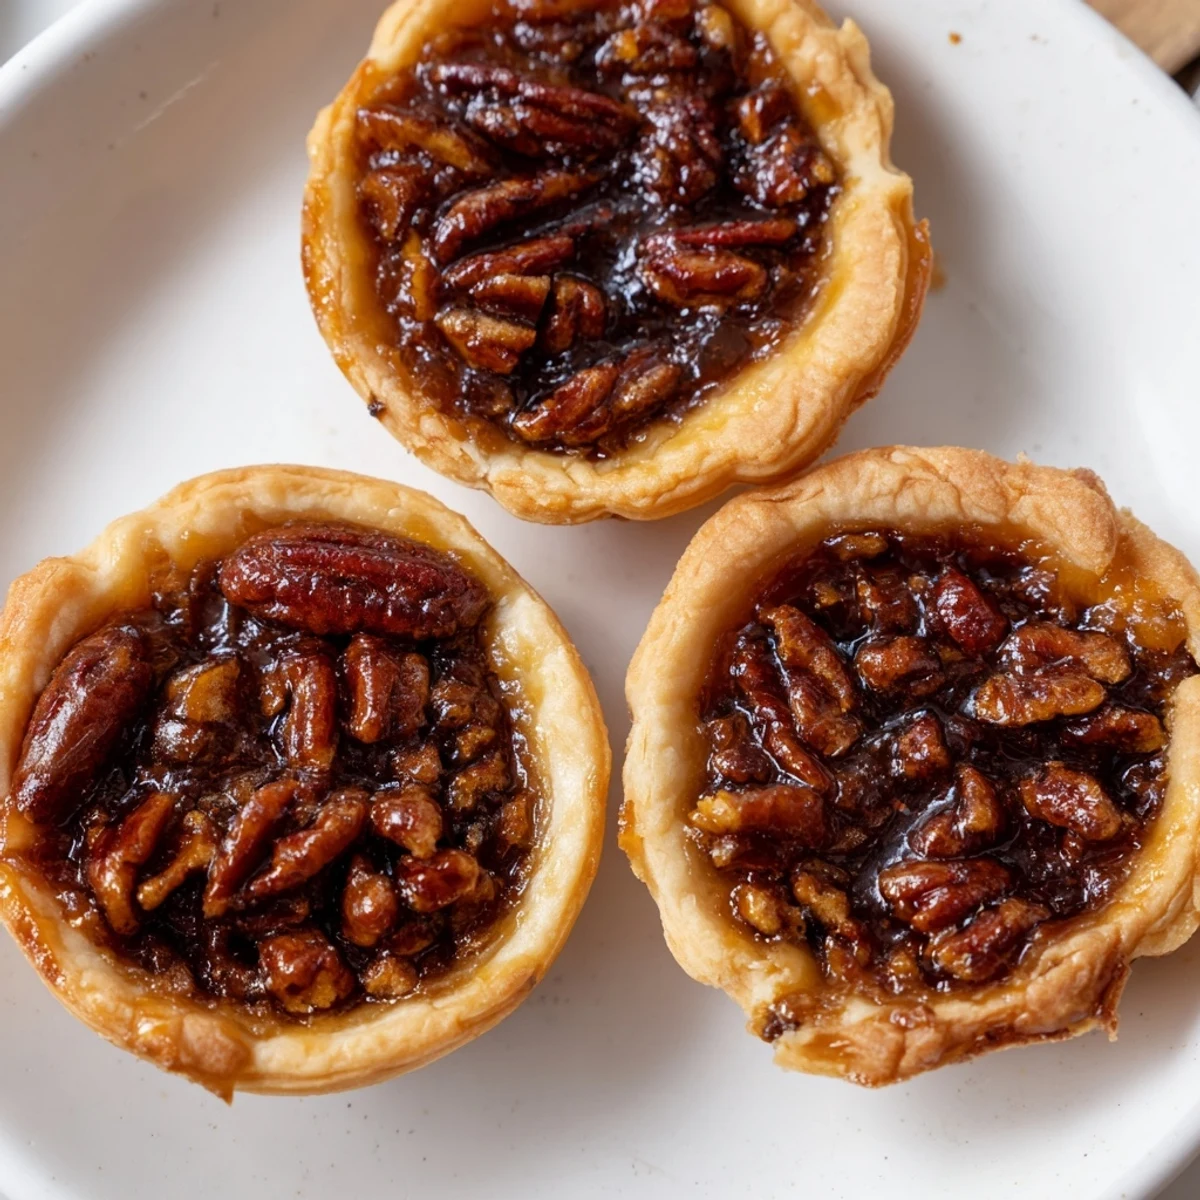 Save to Pinterest
 These little pies have become my go-to contribution for any gathering now. There is something wonderful about watching friends reach for just one and then somehow end up with three on their plate.
Recipe FAQs
- → Can I make the dough ahead of time?
-
Yes, prepare the dough up to 2 days in advance and refrigerate wrapped tightly. Let it soften slightly at room temperature before rolling out for easier handling.
- → How do I know when the filling is set?
-
The filling should no longer jiggle in the center when gently shaken. The crust will turn golden brown and the filling will appear slightly puffed and set around the edges after 22-25 minutes of baking.
- → Can I use store-bought pie crust?
-
Absolutely. Use refrigerated pie dough and cut circles to fit your mini muffin tin. This shortcut works beautifully and reduces prep time significantly without sacrificing flavor.
- → How should I store these mini pies?
-
Keep in an airtight container at room temperature for up to 2 days, or refrigerate for up to 5 days. Bring chilled pies to room temperature before serving for the best texture and flavor.
- → Can I freeze these before or after baking?
-
Freeze unbaked filled pies for up to 3 months, baking directly from frozen with an extra 2-3 minutes. Baked pies also freeze well—thaw overnight at room temperature before serving.
- → What's the best way to remove them from the pan?
-
Let them cool in the pan for exactly 10 minutes. Run a thin knife gently around the edges, then carefully twist or lift each pie using the knife tip. Transfer immediately to a wire rack to finish cooling.