 Save to Pinterest
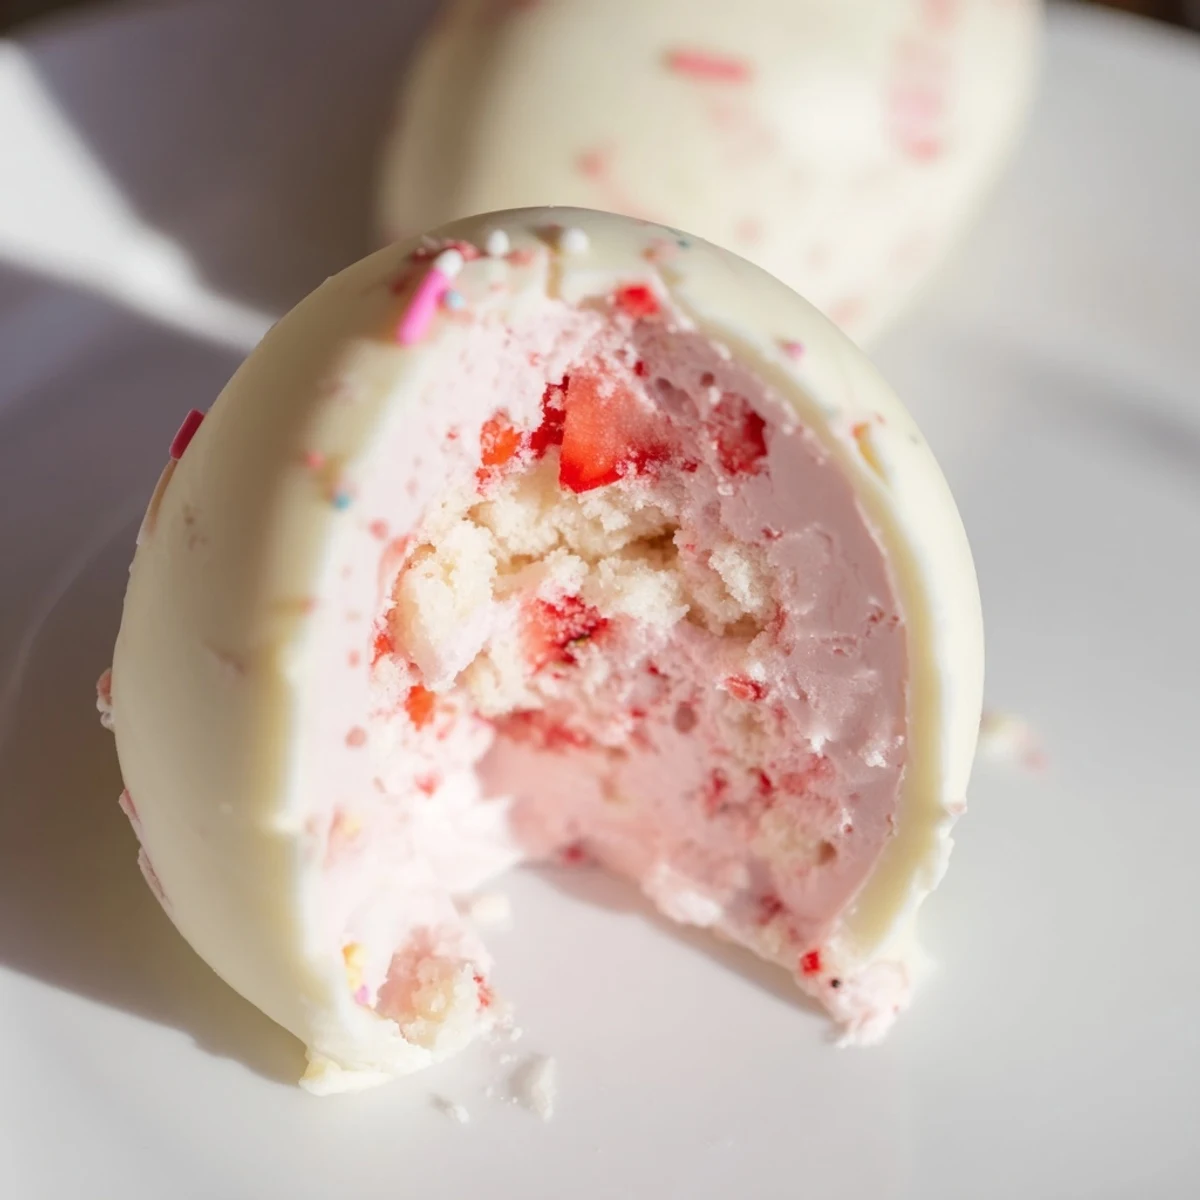
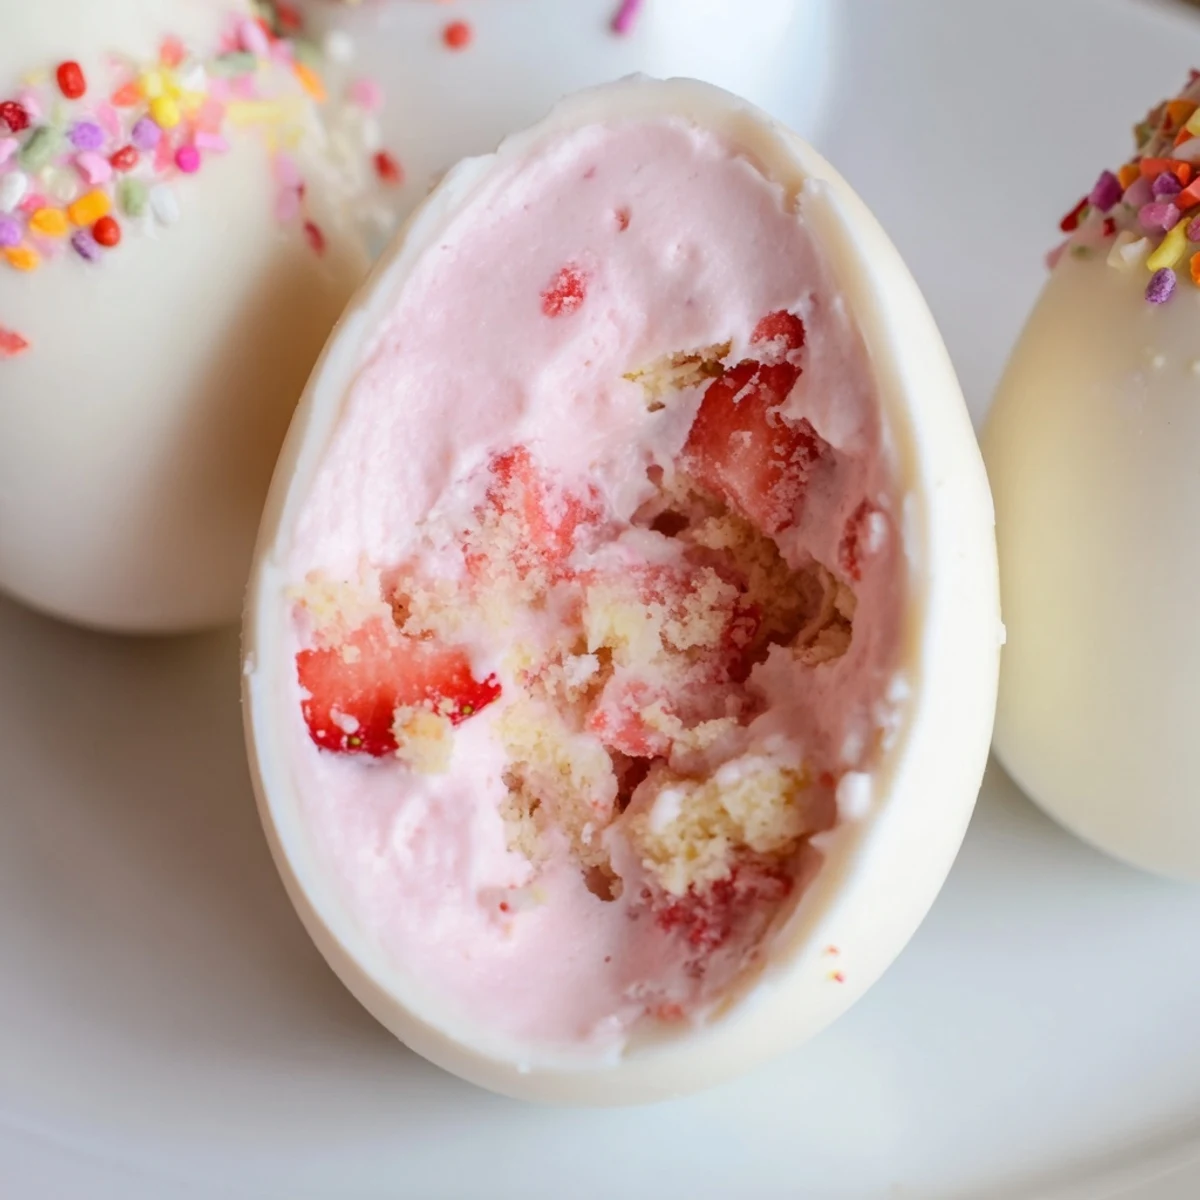
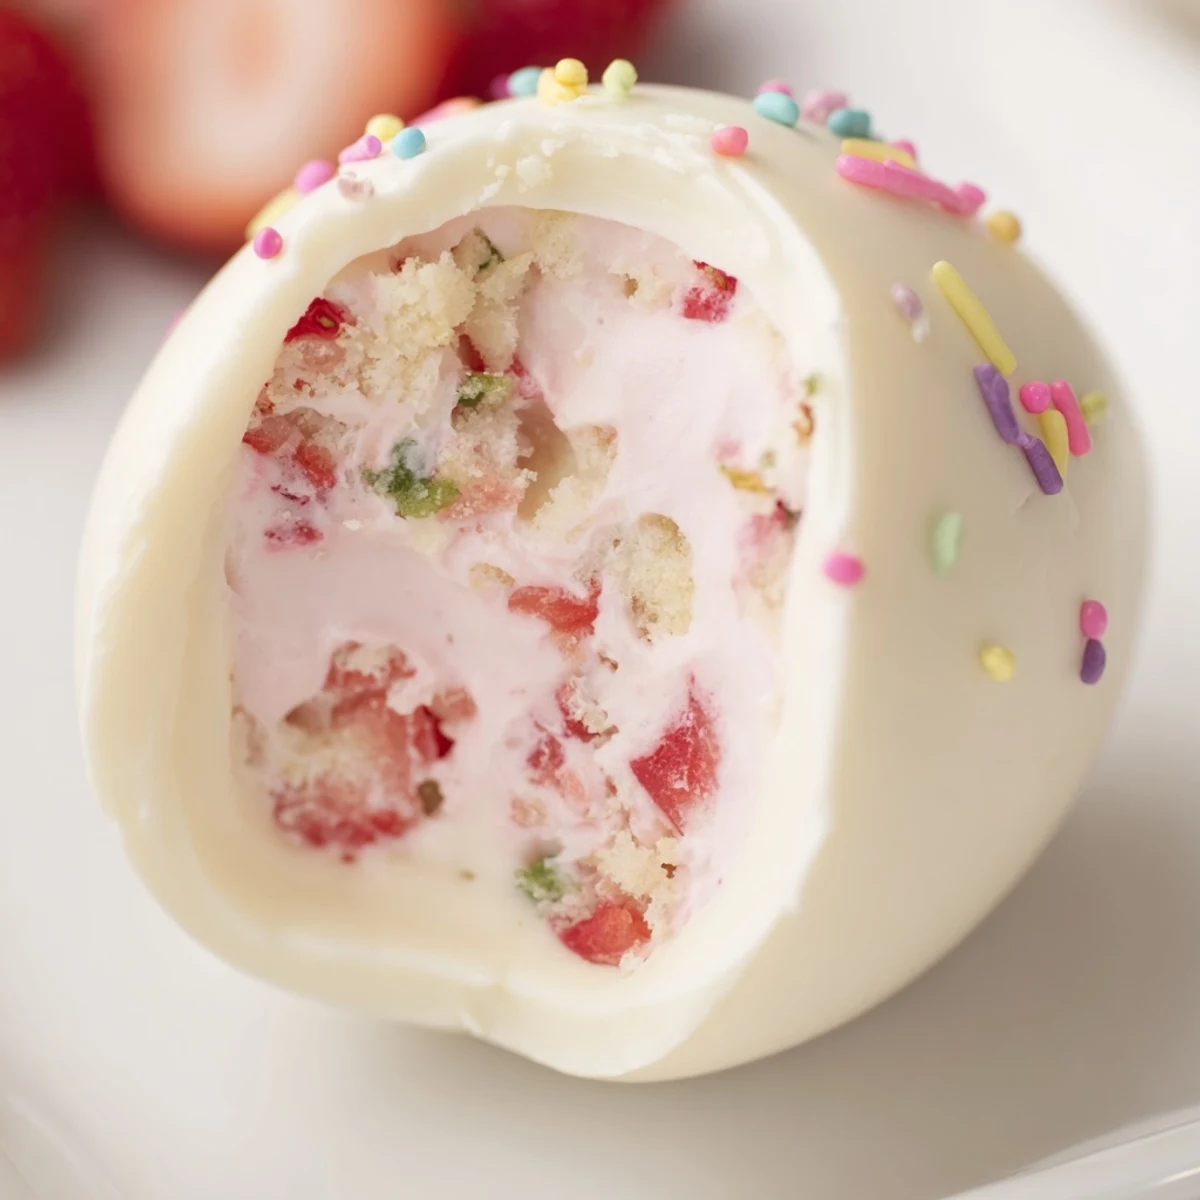
 Create these stunning Easter egg bombs by coating silicone molds with melted white chocolate tinted in pastel hues. The creamy filling combines fresh macerated strawberries with whipped cream, cream cheese, sweetened condensed milk, and crumbled pound cake for that classic shortcake flavor. Seal the chocolate halves using a warm plate technique, then decorate with sprinkles or edible gold leaf for an impressive spring presentation.
My daughter spotted these on Pinterest at midnight the night before Easter and declared them mandatory for our brunch. I was exhausted, but something about those pastel shells called to me. Now they've become the one thing everyone actually asks about weeks in advance.
Last year I made six dozen for a neighborhood egg hunt and watched kids and adults alike light up when they cracked them open. The moment someone bit into that strawberry cream center was pure joy. Now I keep extra chocolate melts on hand year round just in case.
Ingredients
- 300 g white chocolate or white chocolate melts: High quality white chocolate melts smoother and tastes less waxy than budget brands. I've learned to buy an extra package for inevitable taste testing and patching thin spots in the shells.
- Edible pastel food coloring: Gel based colors work best without seizing the chocolate. I prefer the soft pastel palette over anything too vibrant for Easter.
- 150 g fresh strawberries: The tiny sweetness from fresh strawberries beats anything frozen. If they're not perfectly ripe, the extra sugar maceration step saves the day.
- 2 tbsp granulated sugar: This draws out the strawberry juices and creates that perfect jammy consistency in the filling.
- 120 ml heavy cream: Cold cream whips up faster and holds its shape better. I chill my bowl and whisk too for that extra insurance.
- 55 g cream cheese: Room temperature cream cheese blends seamlessly into the filling without any stubborn lumps.
- 70 g sweetened condensed milk: This is the secret to that ultra creamy, almost ice cream like texture. Do not substitute with evaporated milk.
- 100 g pound cake or sponge cake: Slightly stale cake actually crumbles better and absorbs moisture without getting mushy. Bake a day ahead or leave cubes out overnight.
- 30 g assorted sprinkles: The fun part where kids can help. I keep a variety of pastel sprinkles, edible pearls, and tiny sugar flowers on hand.
- Edible gold leaf: A tiny touch of gold makes these look like edible jewels. A little goes such a long way.
Instructions
- Melt and color the chocolate:
- Melt white chocolate in 20 second bursts, stirring between each to prevent seizing. Divide into bowls and swirl in gel food coloring with a toothpick for soft pastel effects. I've found less is more when it comes to color intensity.
- Create the egg shells:
- Paint chocolate into silicone egg molds using a small food safe brush or the back of a spoon. Coat the sides thickly and evenly, then chill 15 minutes before adding a second layer. Double coating prevents those heartbreaking cracks when sealing the eggs.
- Prepare the strawberry mixture:
- Toss chopped strawberries with sugar in a small bowl and let sit 10 minutes while you work on the cream components. The sugar draws out moisture and creates that perfect sweet syrup.
- Whip the cream and blend filling:
- Beat heavy cream to stiff peaks in one bowl. In another, beat softened cream cheese until completely smooth then fold in sweetened condensed milk. Gently combine whipped cream, macerated strawberries with their juices, and cake crumbs until just incorporated.
- Fill the chocolate shells:
- Carefully pop the chocolate shells from the mold. Fill one half of each shell with the strawberry mixture, pressing gently but leaving a tiny bit of room at the top. Overfilling makes sealing almost impossible.
- Seal the egg bombs:
- Warm a plate 30 seconds in the microwave. Lightly press the rim of an empty shell half onto the warm surface to melt the edge, then press onto a filled half. The melted chocolate acts like glue. Smooth any rough seams with a warm fingertip.
- Add finishing touches:
- Decorate with sprinkles, pearls, or gold leaf while the sealed edge is still slightly tacky so everything adheres. Let set completely in the refrigerator 15 minutes before serving or storing.
 Save to Pinterest
 These became my signature contribution to family gatherings after my sister jokingly called them the Easter miracle. There's something so satisfying about cracking open that crisp shell to reveal the pink speckled surprise inside.
Making Them Ahead
You can make the chocolate shells up to 3 days in advance and store them carefully between layers of parchment paper. The filling comes together quickly but is best made the same day you plan to assemble and serve the eggs.
Flavor Variations
Raspberries or chopped pineapple work beautifully instead of strawberries. I once made a lemon version by adding lemon curd to the cream mixture and it was absolutely divine.
Storage And Serving Tips
Keep assembled egg bombs refrigerated in an airtight container and they'll stay perfect for 24 hours. After that the shells begin to soften and lose that satisfying snap when you bite into them.
- Set up a decorating station with bowls of sprinkles and let guests customize their own egg halves before sealing
- Arrange them in a real egg carton lined with colorful Easter grass for the cutest presentation ever
- Label the carton with the date since they really are best within that first day for optimal texture
 Save to Pinterest
 Watch everyone's faces when they crack into these little treasures. That moment of pure surprise makes every bit of effort completely worth it.
Recipe FAQs
- → How far in advance can I make these?
-
These chocolate eggs are best enjoyed within 24 hours for optimal texture and freshness. The white chocolate shells can be prepared 2-3 days ahead and stored in an airtight container, but fill them just before serving to prevent the chocolate from becoming soft or the filling from affecting the shell integrity.
- → Can I use milk or dark chocolate instead?
-
Absolutely! While white chocolate provides the perfect pastel canvas for Easter colors, milk or dark chocolate work beautifully. Keep in mind that darker chocolate will show food coloring differently, so consider using white chocolate accents or decorative elements instead of tinting the shell itself.
- → What's the best way to prevent air bubbles?
-
After brushing the chocolate into the mold cavities, gently tap the mold on the counter several times to release trapped air bubbles. Apply the chocolate in thin, even layers rather than one thick coating, and consider using a second layer after the first has set for extra insurance against weak spots.
- → Can I make these without a silicone egg mold?
-
While a dedicated Easter egg mold creates the most authentic shape, you can use other spherical molds like hemisphere molds or even small bowl-shaped molds. The key is having two halves that can be sealed together. Alternatively, create freeform cups using small silicone cupcake liners for a similar concept.
- → How do I store these properly?
-
Keep the finished egg bombs refrigerated in an airtight container, placing parchment paper between layers to prevent sticking. The cool temperature keeps the white chocolate stable and the filling fresh. Allow them to sit at room temperature for just 5-10 minutes before serving so the chocolate isn't too hard to bite through.