 Save to Pinterest
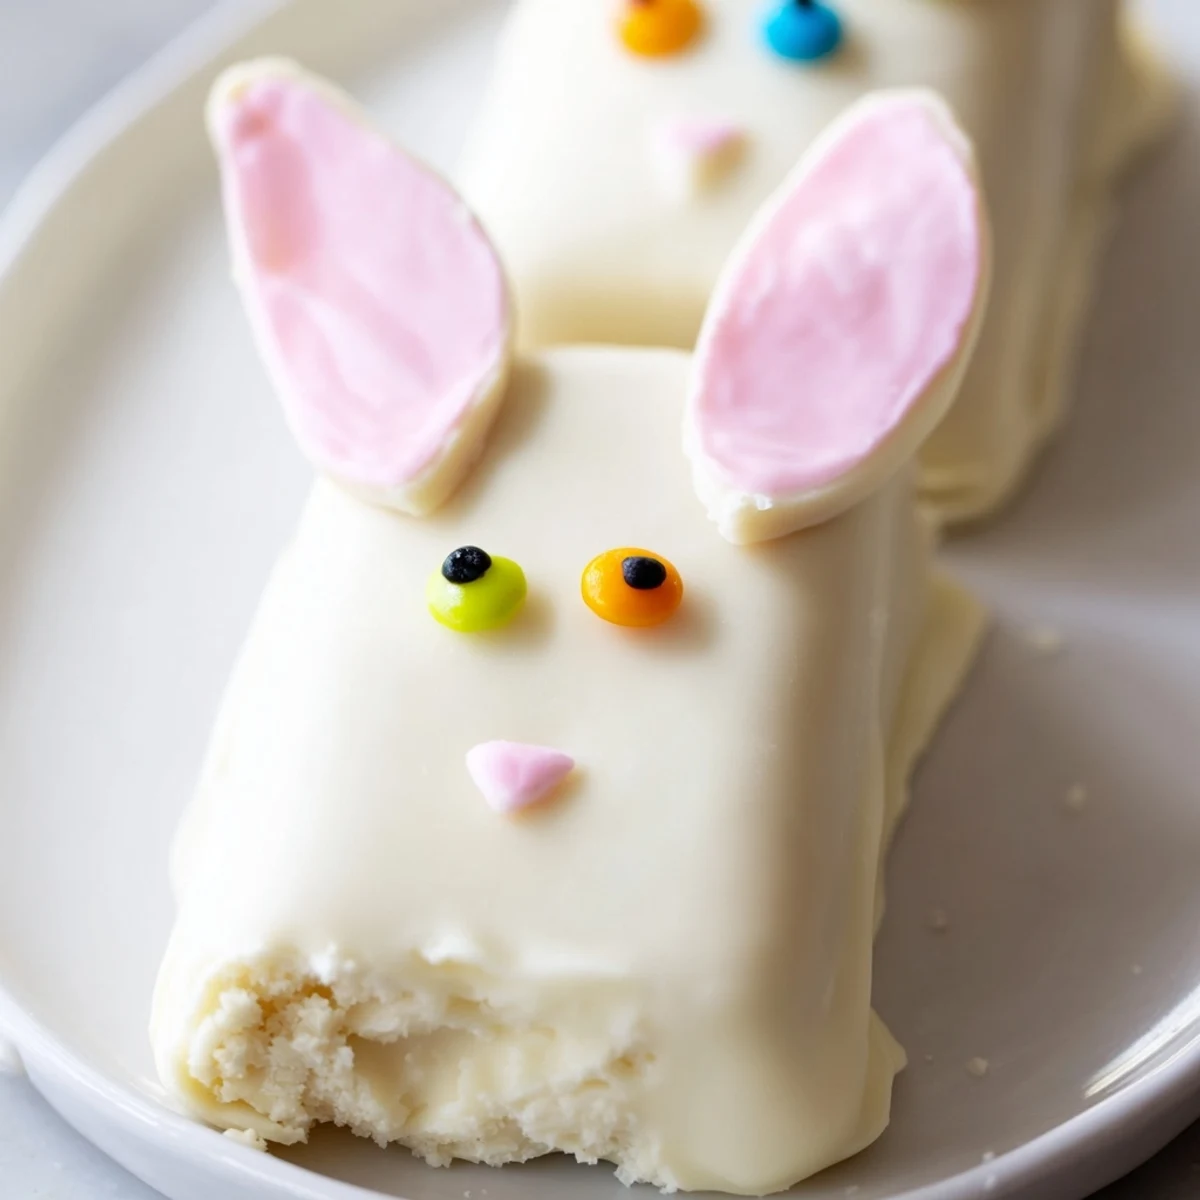
 These charming bunny-shaped treats combine moist vanilla cake with creamy white chocolate for an adorable Easter dessert. The cake mixture blends vanilla crumbs with cream cheese and butter for the perfect dough-like consistency. Each piece gets dipped in smooth white chocolate and decorated with candy eyes, sprinkles, or fondant details to create whimsical bunny faces.
The process comes together in just one hour, making them ideal for spring celebrations. Children especially love helping with the decoration step, adding their creative touch to each bunny. Store them in the refrigerator for up to three days, though they rarely last that long once spotted.
Customize by using chocolate or lemon cake bases, swirling pink food coloring into the coating, or experimenting with different ear designs using pretzel sticks or modeling chocolate.
The moment I brought these bunny cakesicles to our neighborhood Easter gathering, I watched kids and grown-ups alike gravitate toward the platter like magic. There is something irresistibly charming about food on a stick, especially when it is shaped like an adorable bunny face. My friend Sarah actually asked if I could teach her daughter to make them for her birthday celebration next month.
Last spring my niece helped me decorate a batch, and her concentration face while placing each candy eye was absolutely precious. We ended up with a few crooked eared bunnies, but honestly those became the most talked about treats at the table. Now she asks every year if we can have our little bunny decorating workshop again.
Ingredients
- 1 cup vanilla cake crumbs: I have learned that slightly stale cake actually works better here because it absorbs the binding ingredients without becoming gummy
- 2 tbsp cream cheese softened: This is the secret that holds everything together while adding that velvety richness we all crave
- 1 tbsp unsalted butter softened: Room temperature is non negotiable here or you will end up with lumpy mixture that refuses to cooperate
- 2 tbsp powdered sugar: Just enough sweetness to balance the tangy cream cheese without making the mixture too sweet
- 1/2 tsp vanilla extract: Pure vanilla makes all the difference in elevating the flavor beyond just cake and chocolate
- 10 oz white chocolate: High quality white chocolate melts more smoothly and tastes significantly better than candy coating
- Edible gel food coloring: Gel coloring works better than liquid for painting details on the chocolate surface
- 8 cakesicle sticks: Insert these at an angle rather than straight down for better stability
- Sprinkles candy eyes or fondant decorations: Let your creativity run wild here because imperfect faces have the most personality
Instructions
- Mix the cake mixture:
- Combine all the cake ingredients in a medium bowl and mix with clean hands until the texture resembles soft playdough that holds its shape when squeezed
- Shape the bunny faces:
- Divide the mixture into 8 equal portions and gently press each into a flattened oval with slightly pointed top corners for ears
- Add the sticks:
- Insert each stick about halfway into the bottom center of each cake shape and place them on a parchment lined tray
- Chill until firm:
- Refrigerate for at least 20 minutes because firm cakesicles dip much more cleanly without falling apart
- Melt the coating:
- Microwave the white chocolate in 30 second bursts stirring thoroughly between each until completely smooth and glossy
- Dip and coat:
- Hold each stick and dip the cakesicle into the chocolate then gently tap against the bowl edge to remove excess coating
- Set completely:
- Let the decorated cakesicles stand at room temperature for about 30 minutes until the chocolate is firm to the touch
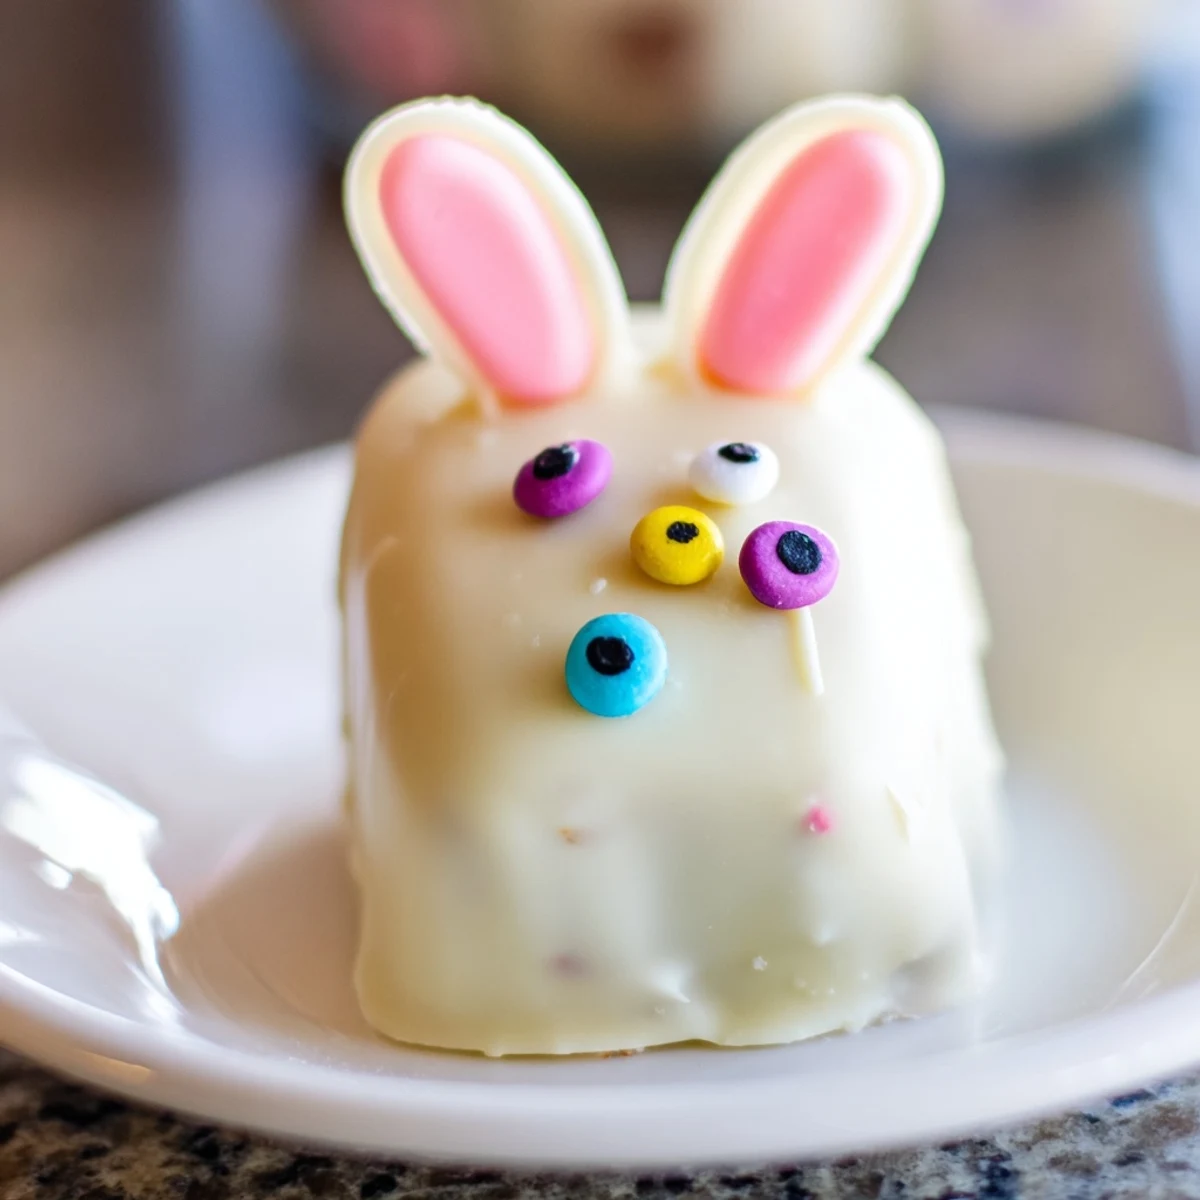 Save to Pinterest
 These have become such a beloved tradition that my family starts asking about them weeks before Easter arrives. Something about those little bunny faces brings out the childlike joy in everyone who sees them.
Getting The Shape Right
I found that using a small oval cookie cutter as a guide helps create uniform shapes that look professional yet still charmingly handmade. If the mixture starts feeling warm and sticky from your hands just pop the tray in the refrigerator for 10 minutes.
Chocolate Coating Secrets
Adding a teaspoon of vegetable oil to melted white chocolate creates a perfectly smooth coating that sets beautifully without streaks or spots. The oil also prevents the chocolate from seizing if you accidentally introduce a tiny bit of moisture.
Decoration Ideas That Wow
Marbled white chocolate looks absolutely stunning and is easier than you might think. Simply swirl a tiny bit of gel coloring through your melted chocolate before dipping for a watercolor effect.
- Pink pearl sprinkles make adorable bunny noses that catch the light beautifully
- Heart shaped sprinkles positioned upside down create the sweetest tiny bunny ears
- Keep a toothpick handy for adjusting decorations before the chocolate sets completely
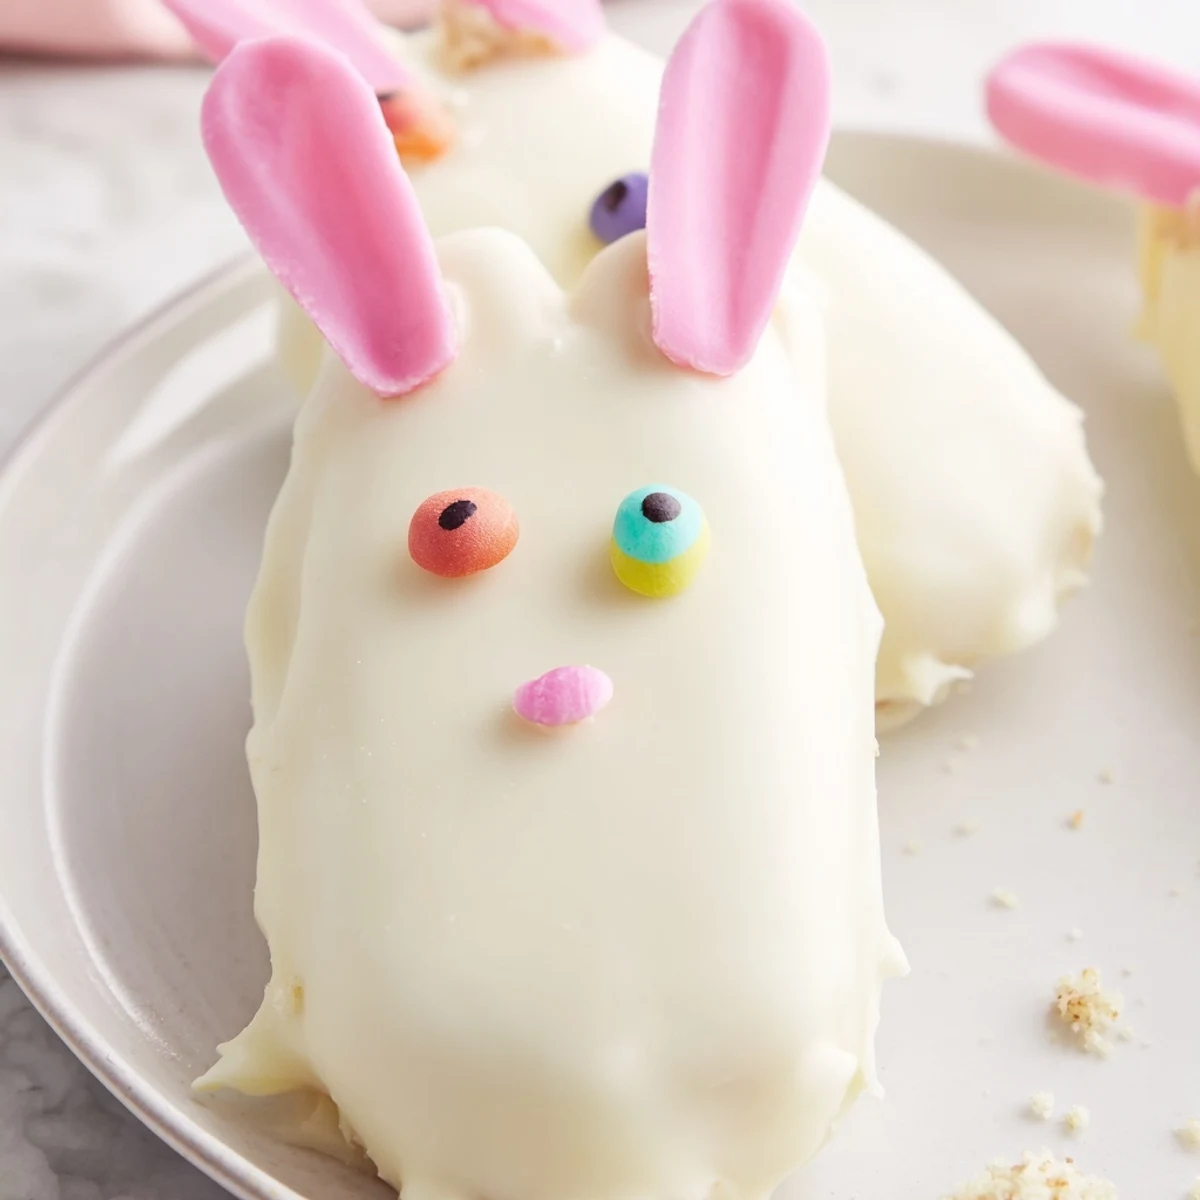 Save to Pinterest
 These bunny cakesicles have become one of those recipes I return to year after year because they never fail to bring smiles to faces. Wishing you the happiest Easter filled with sweet moments and even sweeter treats.
Recipe FAQs
- → What makes cakesicles different from regular cake pops?
-
Cakesicles use flat, oval shapes on sticks rather than round balls. The larger surface area allows for more creative decoration possibilities, and the flattened shape makes them easier to coat evenly with chocolate.
- → Can I use store-bought cake for this recipe?
-
Absolutely. Store-bought cake or cupcakes work perfectly. Simply crumble them finely and mix with the binding ingredients. This shortcut saves time while still delivering delicious results.
- → How do I prevent the chocolate coating from cracking?
-
Ensure the cake shapes are thoroughly chilled before dipping. The contrast between room-temperature chocolate and cold filling helps prevent cracks. Also avoid over-mixing the cake mixture, which can make it too dense.
- → What other decorations work well for bunny faces?
-
Fondant cutouts create clean shapes for ears and noses. Candy eyes and sprinkles add quick personality. Pink chocolate drizzled or painted onto the coating makes adorable noses. Mini marshmallows or heart-shaped sprinkles also work as noses.
- → Can these be made ahead of time?
-
Yes. Prepare the shapes up to two days in advance, keeping them refrigerated. Dip and decorate them 24 hours before serving. Store finished pieces in an airtight container in the refrigerator, separated by parchment paper to prevent sticking.
- → What's the best way to melt white chocolate?
-
Melt in 30-second intervals in the microwave, stirring thoroughly between each burst. White chocolate seizes easily, so avoid overheating. Alternatively, use a double boiler on low heat for more temperature control.